How to Inject Peptides: A Step-by-Step Guide
Learn the safest, simplest way to inject peptides at home. This step-by-step guide covers everything from choosing your injection site to proper needle technique, plus tips to avoid irritation and keep your vials sterile.

Injecting peptides may feel intimidating at first, but with the right tools and a clear process, it becomes quick, safe, and routine. Follow this guide every time to ensure a smooth injection experience.
Preferred Items
These are our go-to products for safety, ease, and comfort:
Step 1: Wash Your Hands
Use warm water and soap to wash thoroughly. Dry with a clean towel or paper towel.
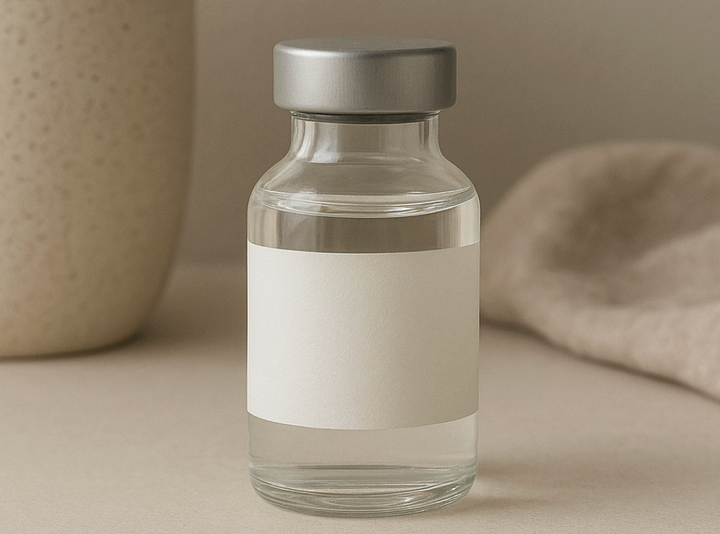
Step 2: Prepare the Vial
- If it’s your first time using the vial, remove the plastic cap.
- Wipe the rubber stopper with a fresh alcohol wipe and let it air dry (do not blow on it).
Step 3: Draw Your Dose
- Use a new insulin syringe for each injection.
- Pull back the plunger to draw air equal to your prescribed dose.
- Insert the needle into the vial’s rubber stopper.
- Push the air into the vial (this prevents a vacuum).
- Turn the vial upside down, making sure the needle tip stays in the liquid.
- Slowly pull back to draw the correct amount (in units as per your dosing sheet).
- Check for air bubbles - gently tap the syringe to release them.
- Remove the syringe from the vial.
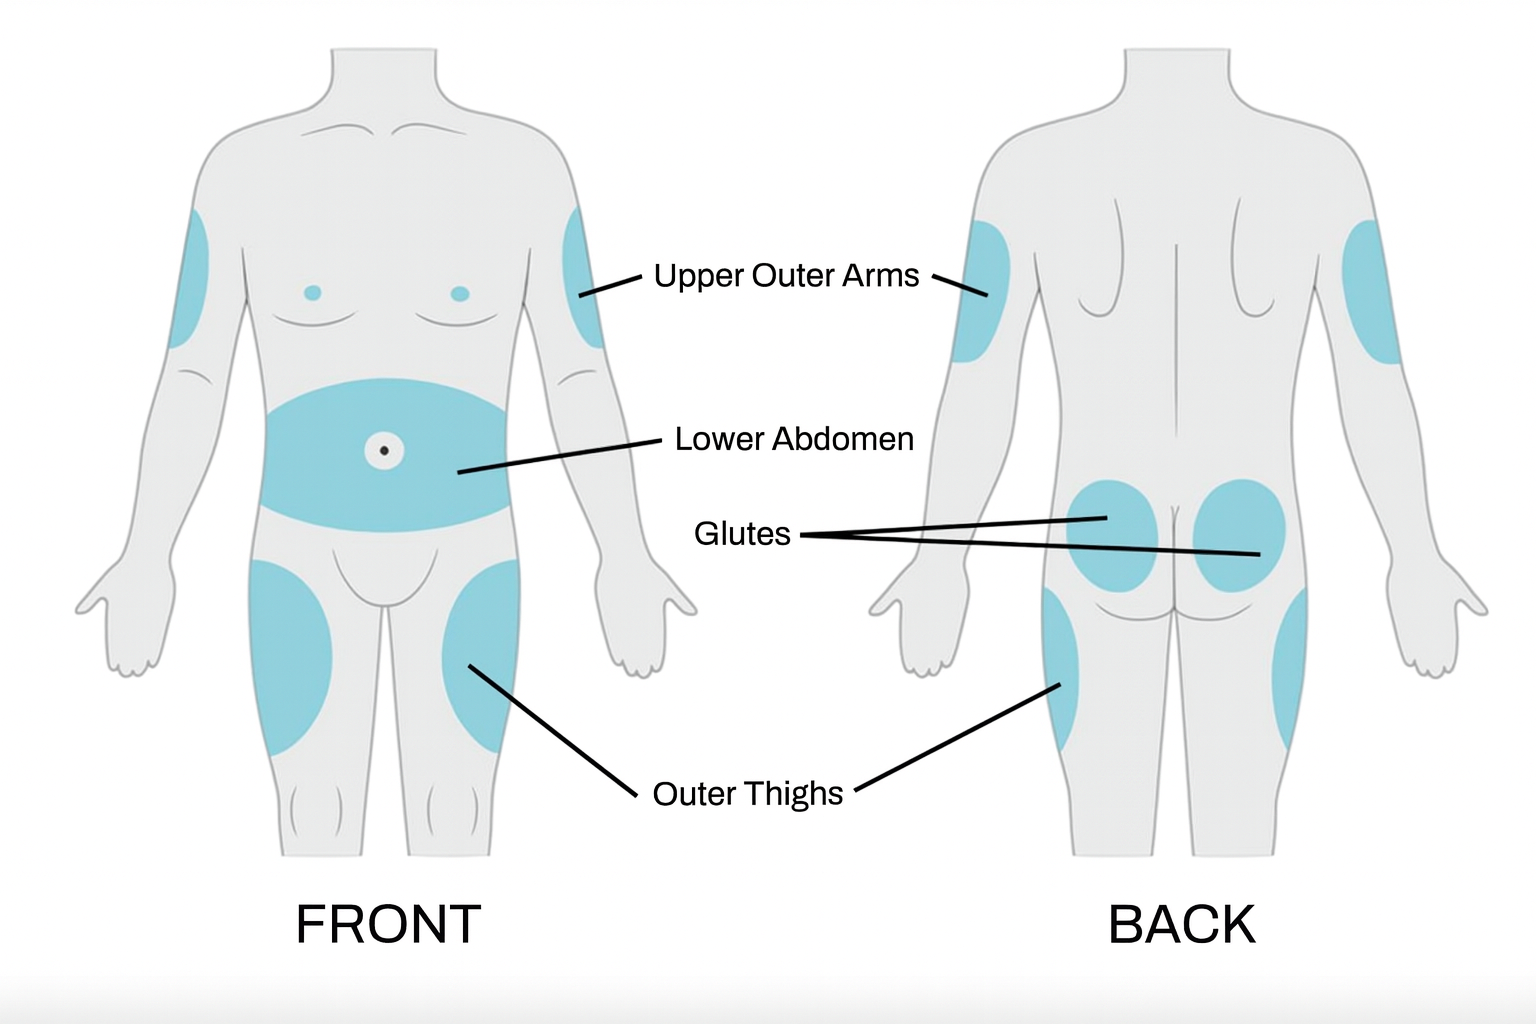
Step 4: Clean the Injection Site
Choose a subcutaneous site (fatty tissue under the skin):
- Abdomen (1–2 inches away from belly button)
- Love handle area
- Upper outer glute
- Upper outer arms
- Outer thighs
Clean the site with an alcohol wipe and let it dry completely.
Step 5: Inject the Peptide
- Pinch a small fold of skin and fat between your fingers.
- Insert the needle at a 45–90° angle into the fat.
- Push the plunger slowly and steadily until all liquid is injected.
- Remove the needle and dispose of it immediately in a sharps container.
- If there’s light bleeding, apply gentle pressure with gauze or a tissue.
Injecting Multiple Peptides at One Time
- Always use a new syringe for each peptide.
- Example:
- Draw Peptide A → Inject → Discard syringe.
- Draw Peptide B → Inject → Discard syringe.
Once a needle enters your body, it is no longer sterile. Reusing it can contaminate other vials with bacteria or blood, risking infection and ruining the vial.
Best Practices
- Rotate injection sites to prevent irritation or scar tissue.
- Keep peptides refrigerated unless otherwise instructed.
- Never reuse needles or syringes.
- Inject around the same time each day for consistency.
- Mild redness, itchiness, tenderness, or bruising can be normal.
- Small bumps may form after injecting - this is just the fluid entering the tissue and will resolve on its own.
Educational only. This guide does not diagnose, prevent, treat, or cure any condition. Always follow the product label and your clinician’s instructions.